All images by Mariah Aro Sharp @mightymooseart


Did you know that most women don’t even know how to put their bra on? Nearly 70% of us aren’t wearing the right size, to begin with, and most of the women who do have the right size still don’t know how to position the bra, so it's doing its job. You’ve already read our 8 Steps to New Boobs, and today we bring you Bra Wearing 101. So go get your bra and learn what a difference it makes when you wear it correctly!
1. Clasping Your Bra
We've met two types of women: the ones who clasp in the front, then swivel the bra around and the ones who use their double-jointed elbows to clasp in the back. I, Judy the Bra Whisperer, am here to tell you that twisting the bra around your body is really bad for your bra, especially if it has underwire. Plus, twisting and yanking the bra wears out the elastic in the band faster, and since we all know the majority of the bra's support comes from the band, we want that elastic to last as long as possible. When your bra is new, it should fit snugly when clasped on the loosest hook. If you have enough slack to twist it around your body, you probably haven't clasped your bra tight enough! You want that sucker to stay in place so it can do its job and hoist up your rack.
So, how do you clasp it in the back without dislocating your shoulder? Try clasping down low and then easing the bra up. You should be able to reach better this way, and as a bonus, you're more likely to get your band in the sweet spot when you put your arms through the straps.
If you really can't bear to clasp in the back, try putting on a silky slip to clasp the bra in the front, on top of the slip. Sliding the bra around on top of the slip will make it easier for you to fasten it tight enough and still turn it around without rubbing off your skin.
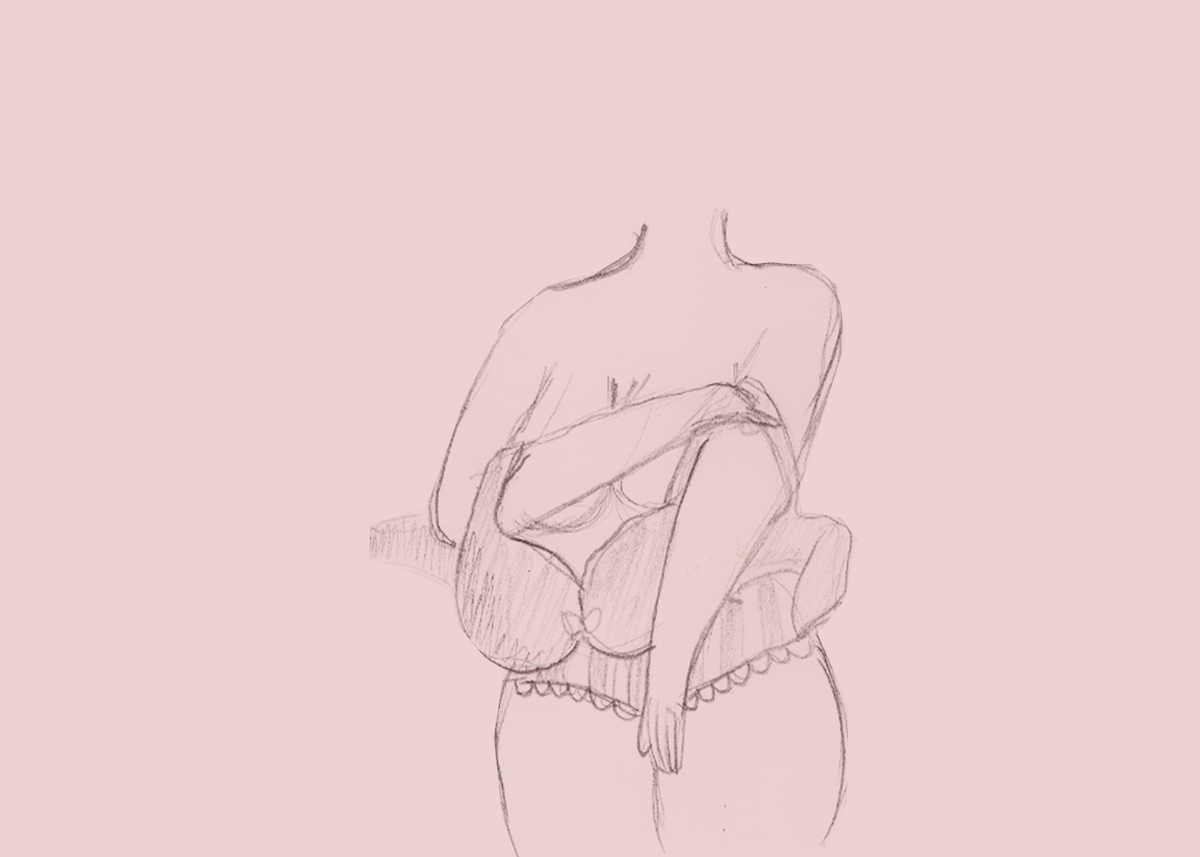
2. Get The Girls In The Cups
Once you've fastened your bra, bend over at the waist and let your breasts fall into the cups. We want 100% of your breast tissue INSIDE the cup — nothing peeking out of the bottom. Make sure the underwire lies UNDER your breast tissue and against your body right below your breasts.

Now stand up and lift your arms. If there is any boob coming out the bottom of your cup, it means that your band is too loose and your cup is also likely too small. Bending over should get all of your breast tissue into the cup and allow the underwire to sit flush against your chest where it belongs.
3. How Low Can You Go?
Once you've got everything buckled and stuffed, you want to raise the bra to the right position. This means you want the back of the band slightly lower than the front. You might need to loosen your straps to get it to stay in place. Remember, the band needs to be snug, so it doesn't ride up. Snug doesn't mean it's cutting off your circulation or digging into your skin, but it shouldn't slip around, either. When the band slips up, your melons roll down. Keep the band snug and low.
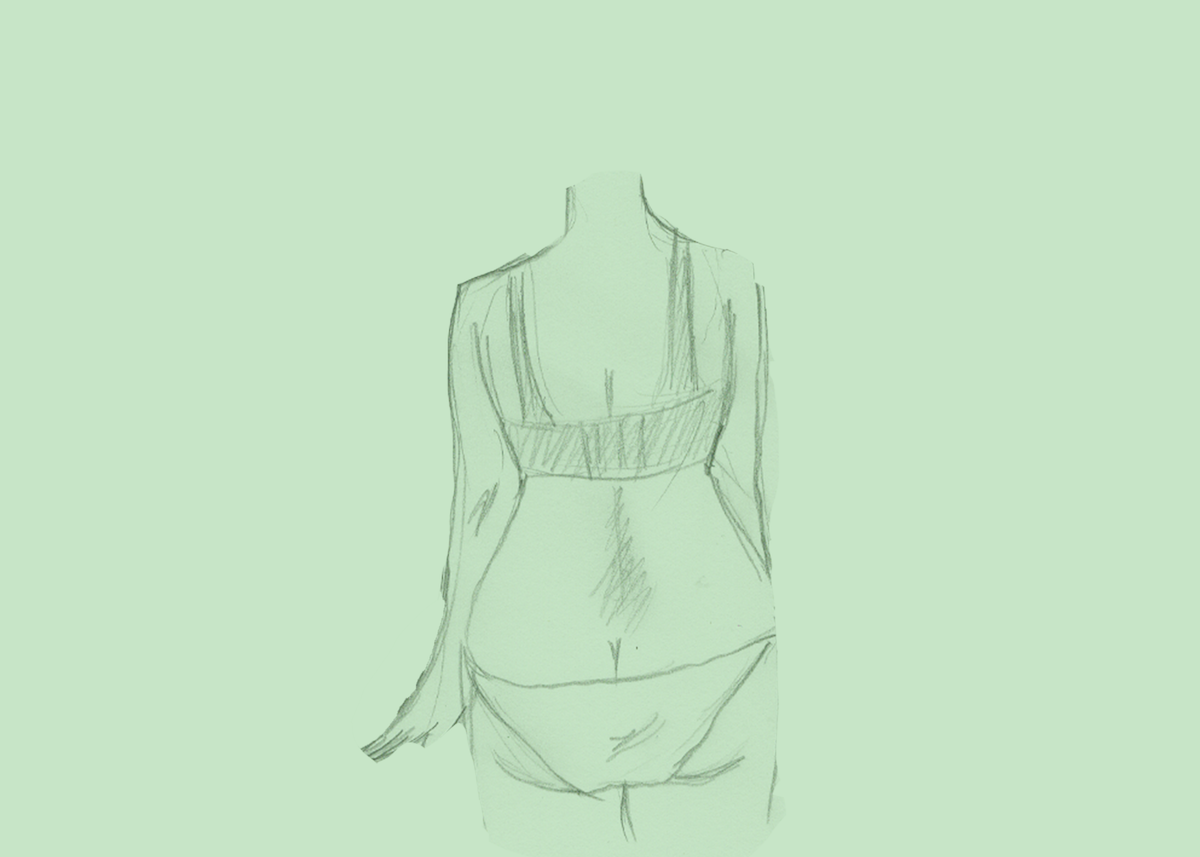
If you've ever felt something jabbing into you, an underwire poking your arm or digging into your chest in the center, this is likely because your band was too high. For real! Pull your band down lower in the back and see what happens. It feels like a new bra, doesn't it?
4. Snappy Straps
Do you have your straps adjusted as tight as you can? Are they digging grooves into your shoulders by evening? You need to stop that right now. For one thing, the support should come from the band, not the straps, so if you need them that tight, you've got the wrong size bra (or else it's so old the elastic is shot).
Your straps should stay up on your shoulders without digging in. You should be able to slide two fingers between your strap and your shoulder without cutting off your circulation.
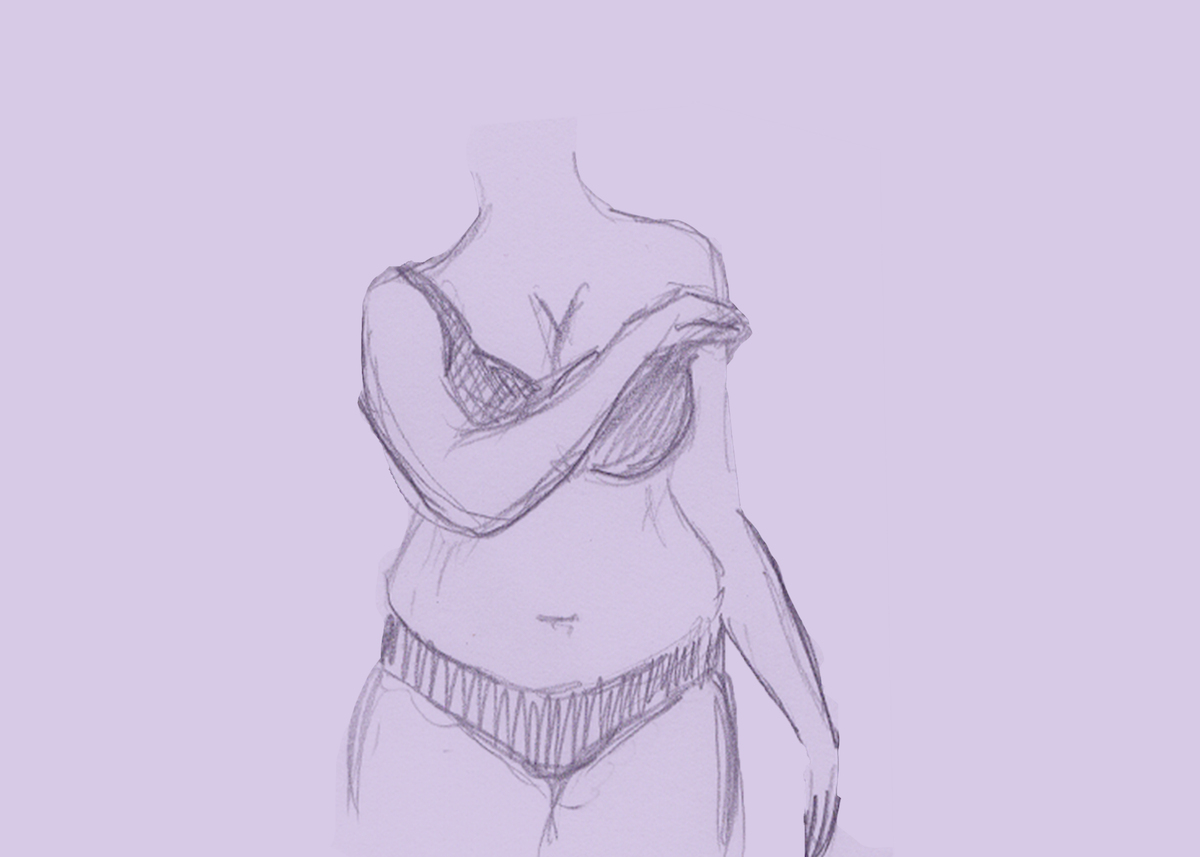
5. Swoop And Tuck
It’s time to dig your cans out of your armpits and put them into the cups. With your right hand, hold onto the bra at the wire/band just behind the right cup. Use your left hand to reach into the right cup all the way to the wire. Swoop the breast tissue from your armpit towards the center of your bust. This is a horizontal motion and should not be lifting the tissue up. Now tuck your breast into the bra, like a cozy hammock. Repeat on the other side.
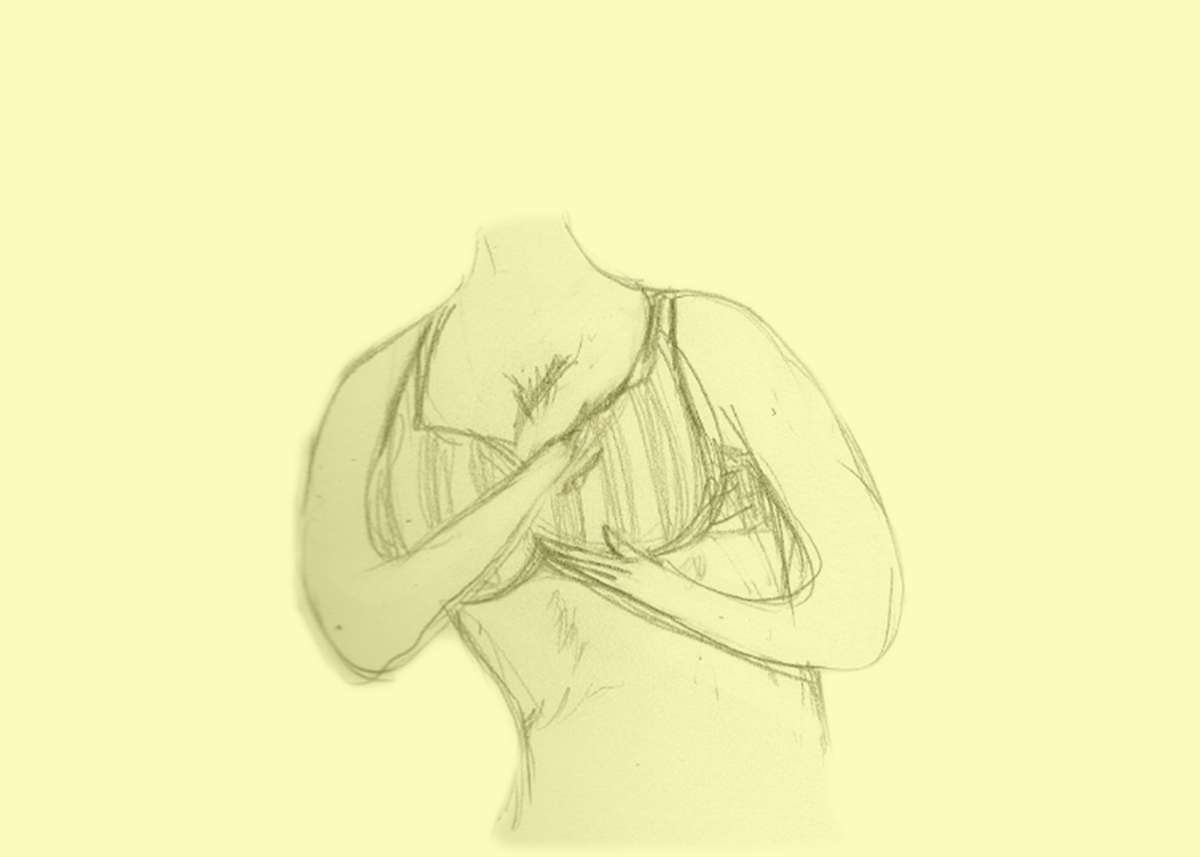
If you have jiggly breast tissue (and let's be real, most of us do), this may cause a little spillage. Tuck any loose skin into the cup so that it doesn’t hang over the edge. NOTE: this should be loose skin only. If you have breast tissue hanging over the cup, then you will need to go up a cup size.
The really important message here is that you need to get fitted to make sure you're wearing the right size!
6. Ease In Slowly
A new bra is at least as important as a new pair of shoes. You don't jump right into a marathon with new kicks, and you shouldn't wear a new bra for 12 hours on its first day. A new bra needs to be broken in gradually — wear it for just a few hours to start and work your way up to all day — especially if you haven’t been wearing a bra that fits. You need at least two bras to give your bra a break in between wearings. After all, it's working hard. The elastic and fabric need some time to rest and breathe. The elastic will last longer, and your girls will thank you for the extra lift.