Birthday cake of awesome.


YOU HAVE FOUND YOUR TRUE CALLING.
Every now and then, you make friends for life.
Like Abby. We have been friends for 20 years and were mortal middle school enemies for five years before that. We have shared clothes, rooms, secrets, joys, triumphs, a high school boyfriend, and witnessed each other's wedding days and birthing of babies. To say she is closer than a sister is an understatement. She is the best kind of friend.
So, when your BFF moves into her first real home, and her husband has a birthday at basically the same moment, you bake a cake. And not just any cake but a beautiful thing made of the best ingredients. You aim high, confident that you can come through for your BFF and celebrate her family's milestones with four spongy layers filled with thick raspberry preserves and succulent buttercream.
And you do it. And it's truly beautiful and you feel so much pride because you've made this birthday cake of beauty and you got the whole process on video and it kind of feels like you birthed a baby except there was no actual pain or human life involved and you think you've missed your calling in life and should stop everything and become a baker in a pâtisserie in Paris and make gluten-free baking A Thing in Europe because your deathly allergic kid can't eat wheat. But it's okay because YOU HAVE FOUND YOUR TRUE CALLING.
Then your wheat-allergic child deletes all of your video footage that bore witness to the making of The Birthday Cake of Beauty. Then you remember that Europe is basically paved in wheat and baking is really hot work and, oh yeah, YOU HATE PARIS. And in this moment, you might hate your kid a little bit, too.
But it's okay because your BFF and her husband love the cake, seem deeply impressed and touched by your efforts, and you know one day, you will do this all again. Today is not that day, though.
Ingredients for Four Layer Cake:
2 cake mixes (I love Bob's Redmill gluten free mixes)
1 cup oil or melted butter
6 Tbsp ground chia or flax seed
1 3/4 cup water (divided)
1 Tbsp vinegar
1 tsp vanilla extract
16 oz buttercream frosting
12 oz raspberry preserves
Directions:
Mix ground chia seeds, 3/4 cup water, and vinegar in a small bowl and set aside.
Preheat oven to 325 degrees. Grease two round cake pans. If you're feeling like you really want to ensure your cake turns out like a pro, line the bottom of the pan with a piece of parchment paper cut to fit. Place parchment in bottom of greased pan, and then grease the parchment paper.
Combine your ingredients, mixing in your ground chia seed mixture last. It will be gelatinous.
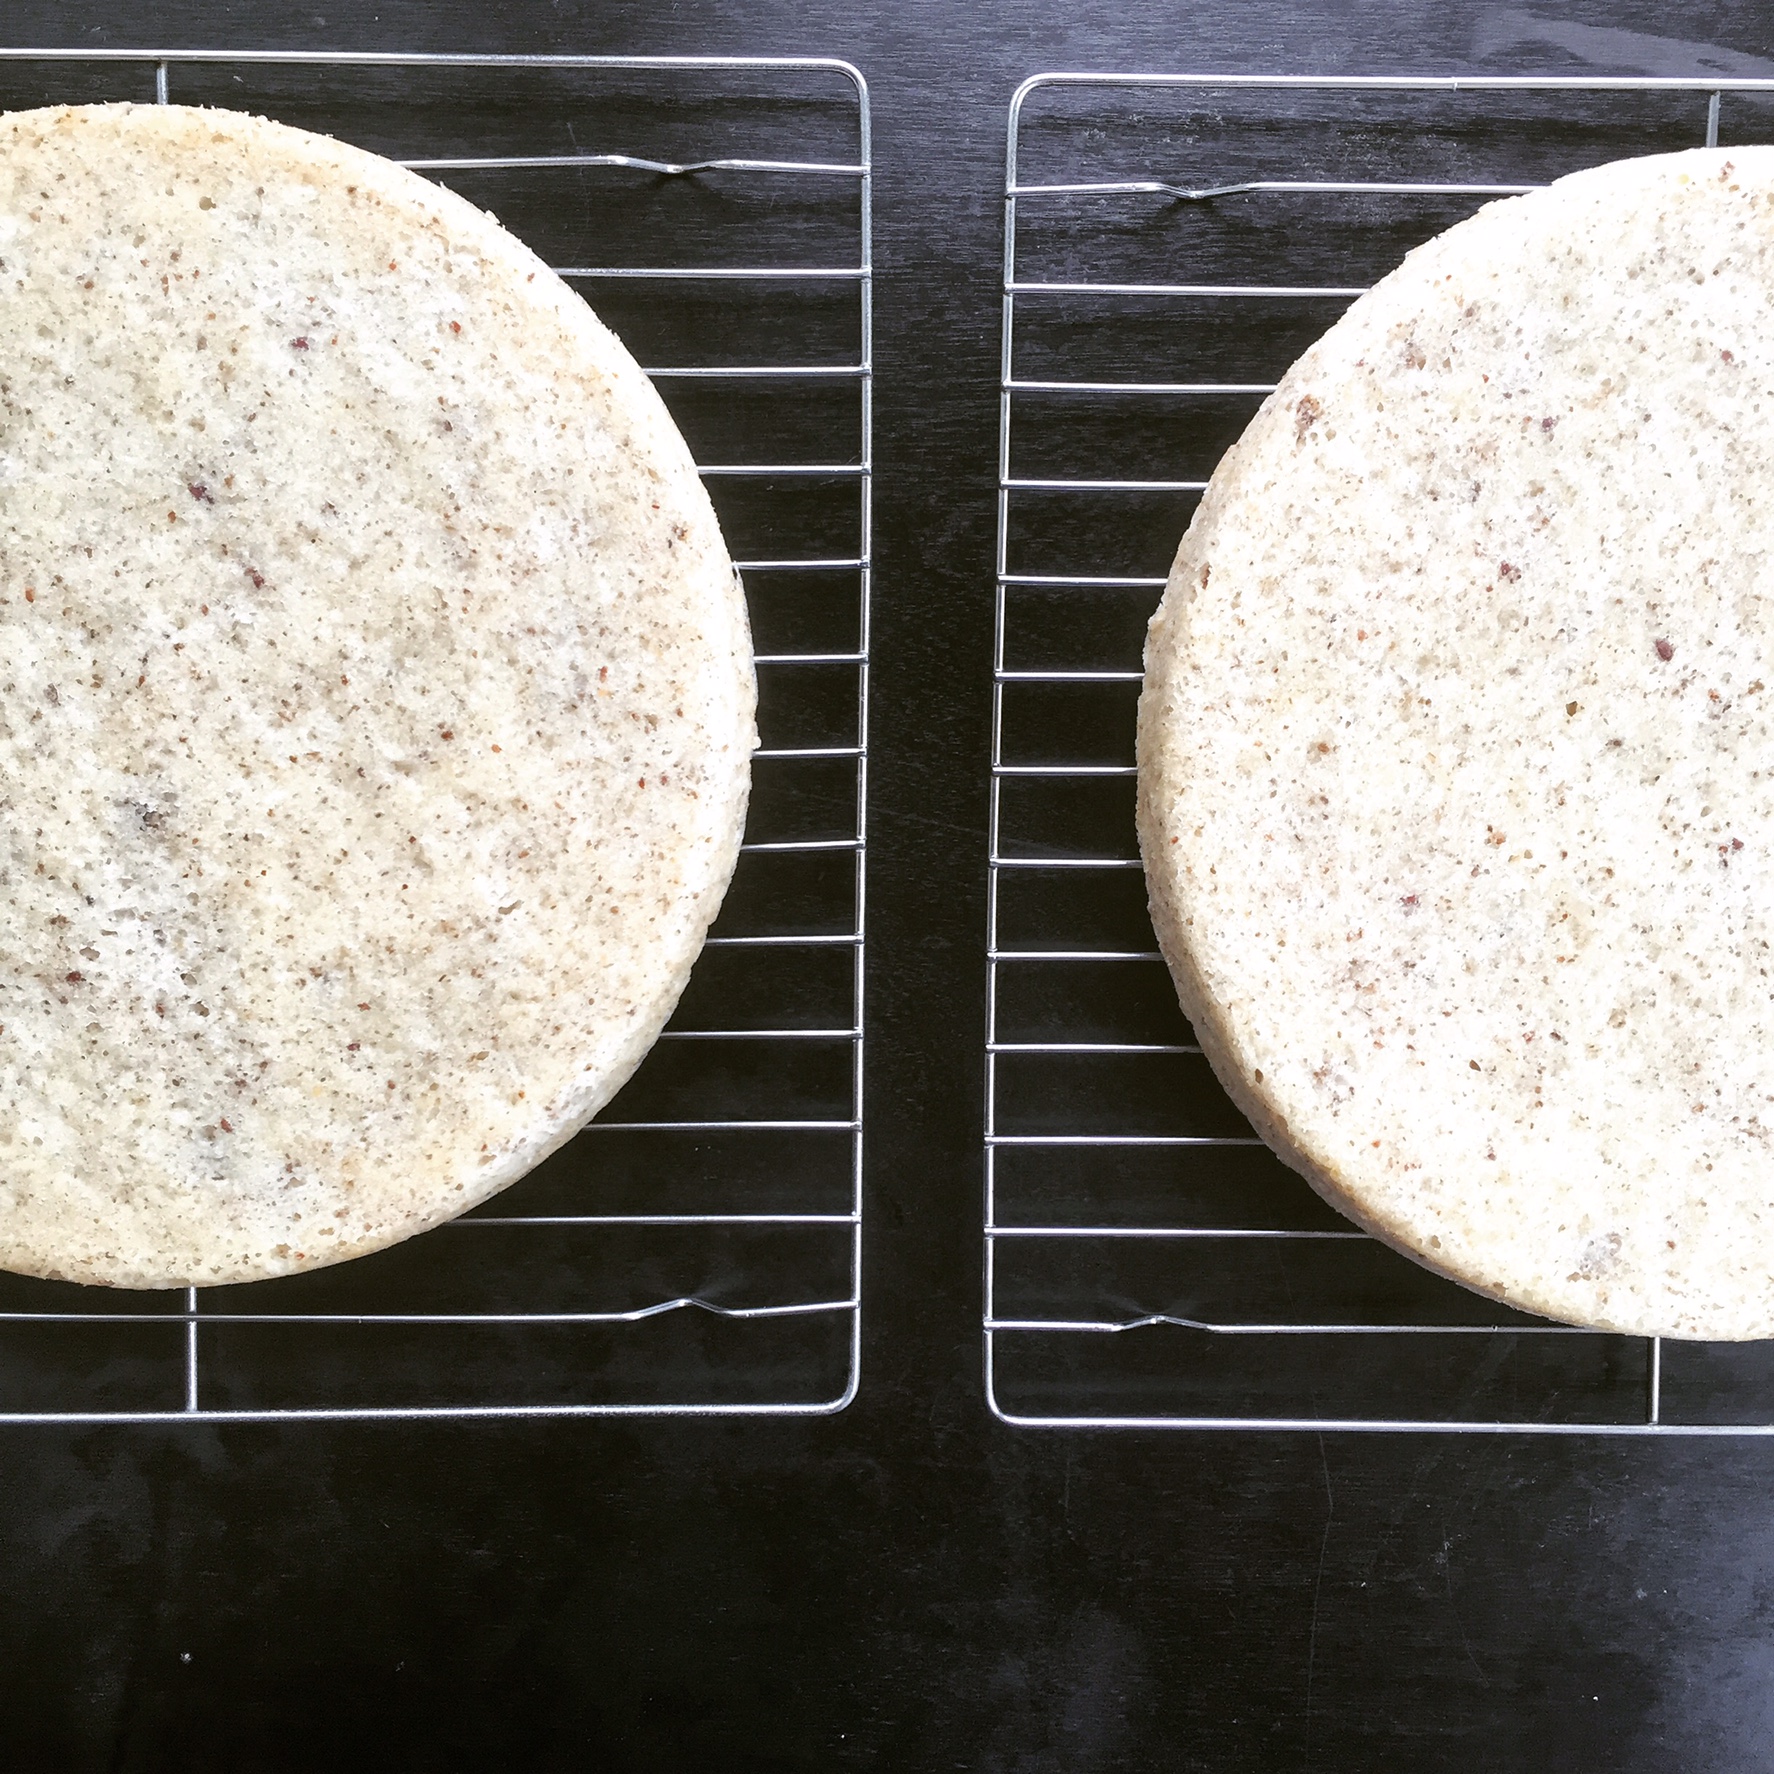
Divide the cake batter into four equal portions and place one portion in each pan. (If you're working with two pans, this will take two rounds of baking for you.) Bake for 30 minutes. Turn cake upside down on a wire baking rack and cool. Maybe drink a beer because this is a lot of work.
Once cakes have cooled, take a long serrated knife and gently skim the top of the cake until the rounded portion is flat. You can wrap a construction level tool in Saran Wrap and get super technical about it. Or you can eyeball it if your confidence outweighs your OCD.
Now, frosting time. Put your first layer down on a flat plate with a petite dollop of frosting to help the cake stick to the surface. Spread a generous and even amount of jam on top of the cake. Put your next cake on top of that and repeat until all four layers are evenly stacked.
Next, give it s good dose of dirty icing. This is a very thin base layer to help fill in the cracks and give your real frosting layer a sticky canvas upon which to stick. It should be nearly transparent in its dirtiness.
Spread your final layer on top of the cake after you have finished the dirty icing. Leave 1/2 inch between your jam circle and the edge of the cake. Next, frost the sides of the cake and be generous and whimsical with your efforts here. Pipe some frosting around the top and base of the cake to make it look even more whimsical. I don't have any fancy frosting tools so I used a ziplock bag, filled it up with frosting, and snipped a small corner off and used it to finish the cake. It worked great.
A scant six hours later, you're done! Everyone is happy and full of cake that won't make anyone sick. And you're pretty sure this isn't your calling and you never want to make another cake ever again. Until next week.