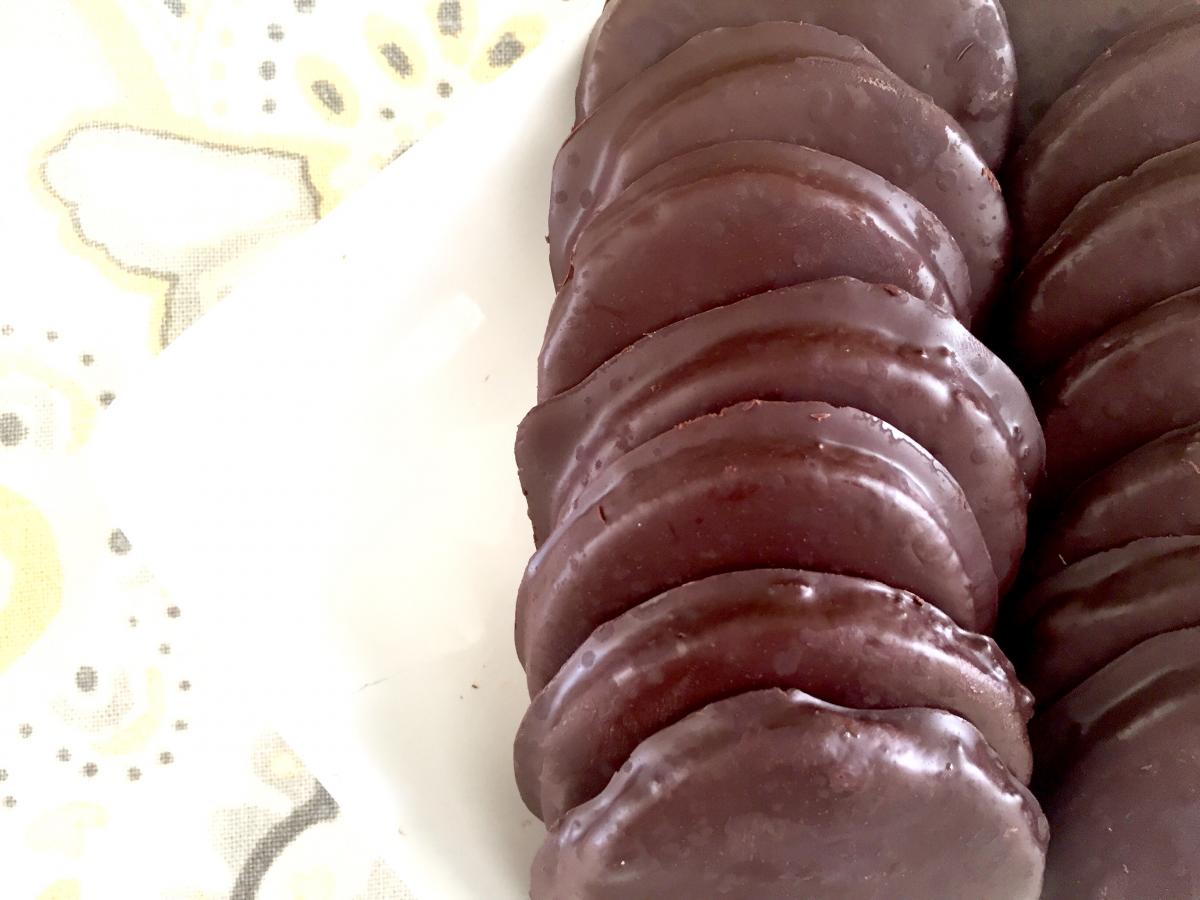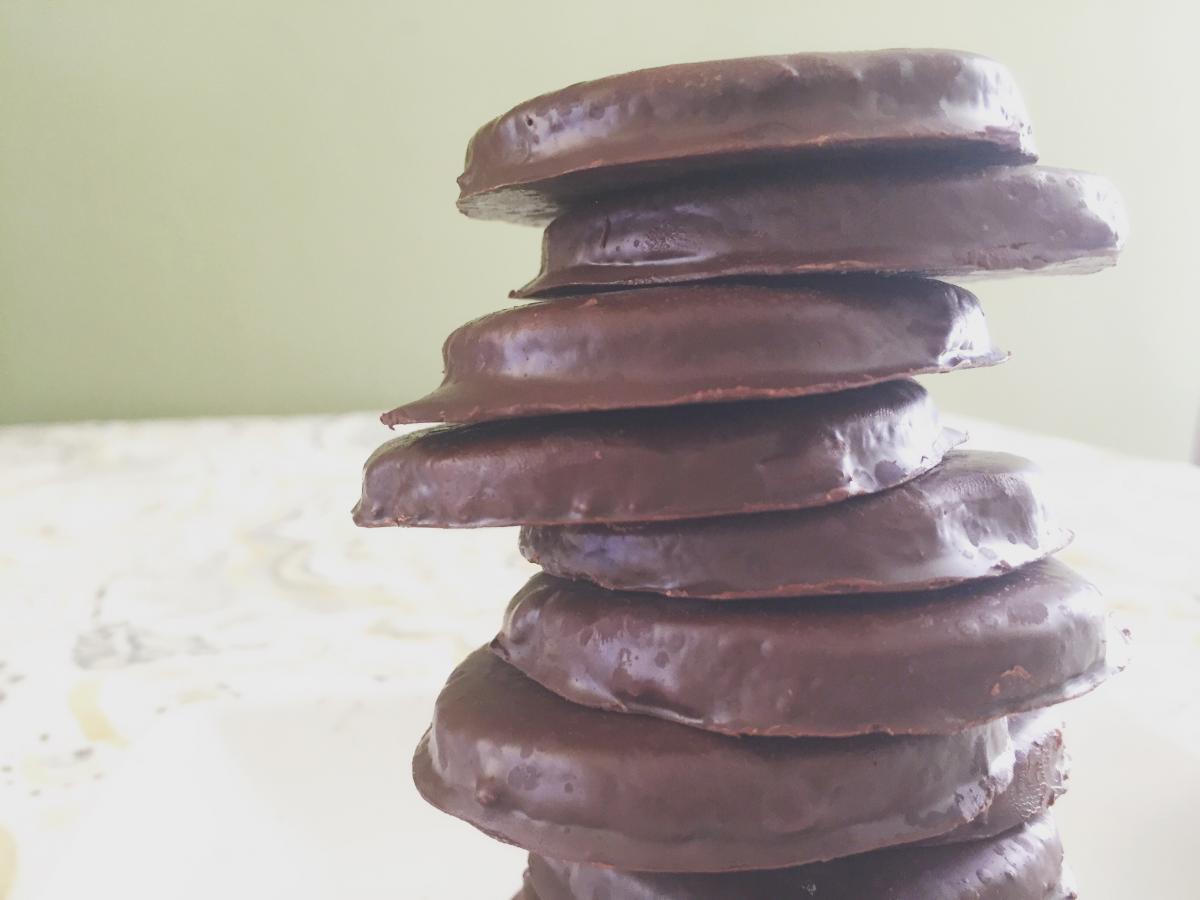
Thin Mints. God Bless America.
I decided to make my own Thin Mints this year, and guess what? I actually like them better.
It’s That Time Of Year again. That Time when you start looking for Girl Scouts. What do they even do anymore besides sell cookies? Who knows. But every time you leave your house, you’re on the lookout for those girls with a table full of cookies in front of Safeway and Petco.
Your strict no-soliciting policy goes out the window, and you put up a sign in your yard that says “Girl Scouts Welcome." Maybe you start perusing your friends’ Facebook profiles, hoping they have daughters who are selling tiny boxes of annual cookie happiness. Craigslist is full of people just like you searching for Caramel deLites and Thin Mints.
I know. I’ve been there, too.
Thin Mints are my favorite. They’ve ALWAYS been my favorite. I would hide a sleeve in our freezer as a kid, and wait for my brothers to leave the house so I could eat them in peace. As an adult, not much has changed. I look forward to that time of year when Girl Scout cookies make winter doldrums bright again.
However, I can no longer eat wheat because my son has a life-threatening allergy to the stuff, so we don’t even bring it in our house. This means Girl Scout cookies are not allowed here, either.
So, I decided to make my own Thin Mints this year, and guess what? I actually like them better. My mouth still craves the slightly-waxy outer chocolate shell and the chemical-laden crispy wafer — nostalgia and a lifetime of cookie are hard to overcome. But I persevered and made a cookie I’m proud to hide in the back of my freezer to keep my family from eating them.
Ingredients:
1 cup flour of your choice (I chose cassava flour)
½ cup Dutch process cocoa powder
¾ cup sugar or sugar replacement (I chose erythritol because it’s made from real food and doesn’t have a weird aftertaste)
2 eggs or egg replacer (I chose ground chia seeds soaked in almond milk)
¼ cup vegetable shortening or softened butter
1 tsp baking soda
1 tsp baking powder
1 tsp vanilla extract
1 ½ tsp peppermint extract or flavoring
14 oz chocolate chips or dark chocolate bars (for dipping)

Directions:
Combine dry ingredients in a large-ish mixing bowl. This will be dusty work. Try not to breathe.
Create a deep well (of gratitude) in the middle of your flour mixture. Add your egg, extracts, and butter. Mix everything together with a stiff spatula until you need to get your hands dirty. Dig in with your hands and knead the dough mixture until it sticks together and form it into a ball. This might take a minute. Count this as a workout.
Cut the dough in half, and transfer one of the halves to a large piece of parchment paper or a cocoa powder-dusted countertop. Roll the dough ¼ - ½ inch thick, and cut out circles of dough with a cookie cutter or biscuit cutter. If you’re using the parchment paper, remove the excess dough and slide a cookie sheet under the parchment paper. If you’ve rolled it out on the countertop, remove dough circles and place them on a baking sheet lined with parchment paper.
If you want to be fancy, (and I’m about 37% positive you do), grab a chopstick and use the end to press the authentic indentations into each cookie.
Bake at 350 degrees for 12 minutes, or until the edges of the cookie are slightly hard. Let cool completely.
After your cookies are cooled, melt your chocolate. You can do this incrementally in the microwave, 30 seconds at a time, or use a double boiler on the stove. You can add ½ tsp of peppermint if you want a more intense peppermint flavor.
Roll out a sheet of waxed paper. Dip each cookie into the melted chocolate, submerging completely. Use a fork to fish it out, and let the excess chocolate drain off. Gently lay on waxed paper and allow to harden up.
Store in the freezer for an authentic Thin Mint experience, or eat immediately with a glass of milk or cup of coffee. Either way, enjoy That Time of Year anytime of year, regardless of your food restrictions or ability to find those elusive Girl Scouts.


